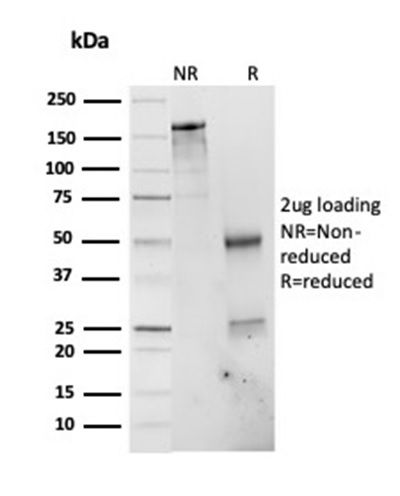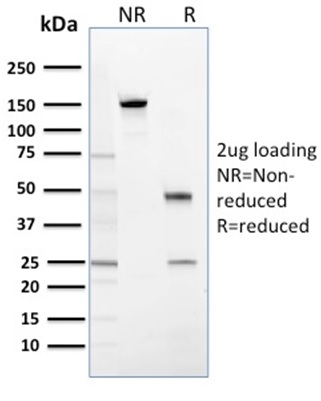
SDS PAGE Analysis Purified Stratifin Mouse Monoclonal Antibody (CPTC-SFN-2). Confirmation of Integrity and Purity of Antibody.
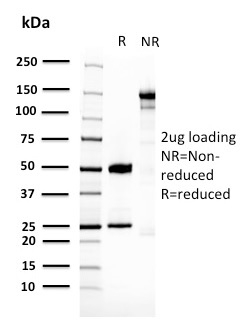
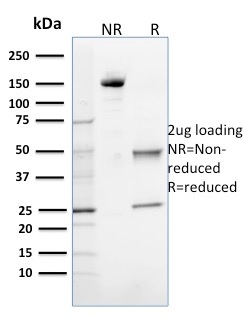
SDS PAGE Analysis of Purified 14-3-3E Mouse Monoclonal Antibody (CPTC-YWHAE-1). Confirmation of Purity and Integrity of Antibody.
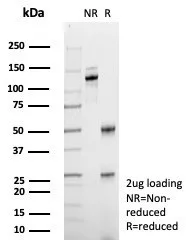
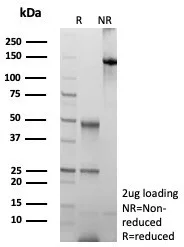
SDS PAGE Analysis of Purified ABCB11 / BSEP Mouse Monoclonal Antibody (BSEP/7534). Confirmation of Purity and Integrity of Antibody.
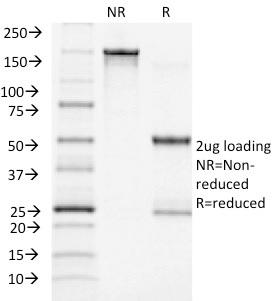
SDS PAGE Analysis of Purified ABCC11 Mouse Monoclonal Antibody (ABCC11/2438). Confirmation of Purity and Integrity of Antibody.